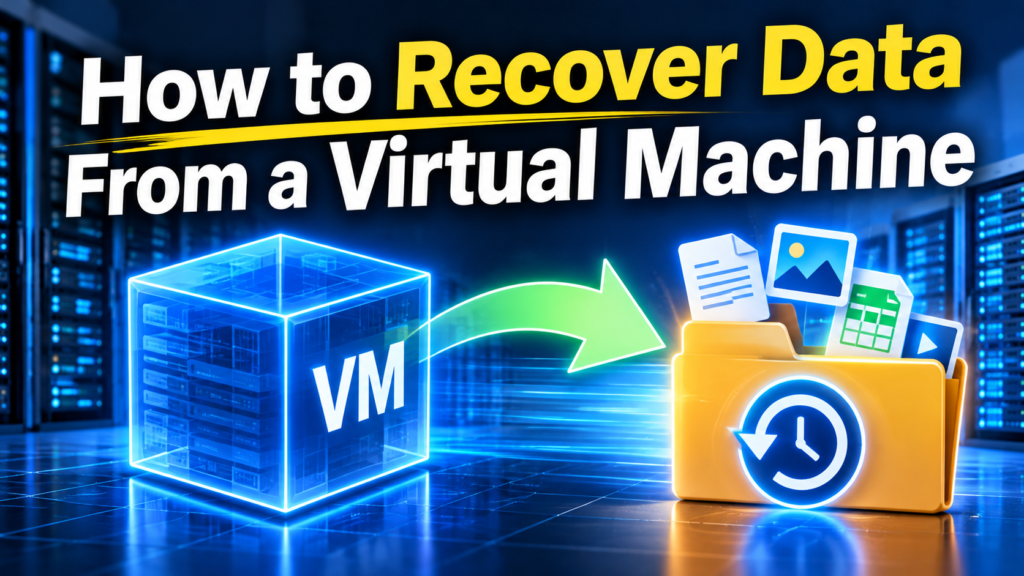
Accidentally deleted files from your virtual machine, permanently removed them, or lost access to important data because of a VM crash or disk error? Don’t worry, you may still be able to get your data back. To do so, you can use the Recycle Bin, data recovery software, backups, snapshots, or direct access to the virtual disk. In this guide, we’ll walk you through each virtual machine data recovery method and show you how to retrieve your lost files.
Methods to Recover Data From a Virtual Machine
Every trustworthy recovery guide for virtual machines emphasizes that the best recovery method depends on how you lost access to your files. Start with the simplest option and check your virtual machine’s Recycle Bin or Trash. If the files are no longer there and you don’t have a backup or snapshot, try data recovery software. If you do have a backup or snapshot, you can restore your files from an earlier VM state. And if the virtual machine won’t boot but its virtual disk is intact, use the last method to access your files directly. Although there are some drawbacks of virtual machine recovery, such as snapshot limitations and high resource requirements, these methods can help you recover lost files in many situations.
Method 1. Recover Deleted Files From a Virtual Machine Using the Recycle Bin
If you accidentally deleted files inside your virtual machine, first check the Recycle Bin or Trash of the guest operating system you’re using. Your deleted files may still be there, so you can restore them without additional software.
For a Windows virtual machine:
- Start your virtual machine.
- Open Recycle Bin from the desktop.
- Find the deleted files or folders.
- Right-click the selected items and choose Restore.
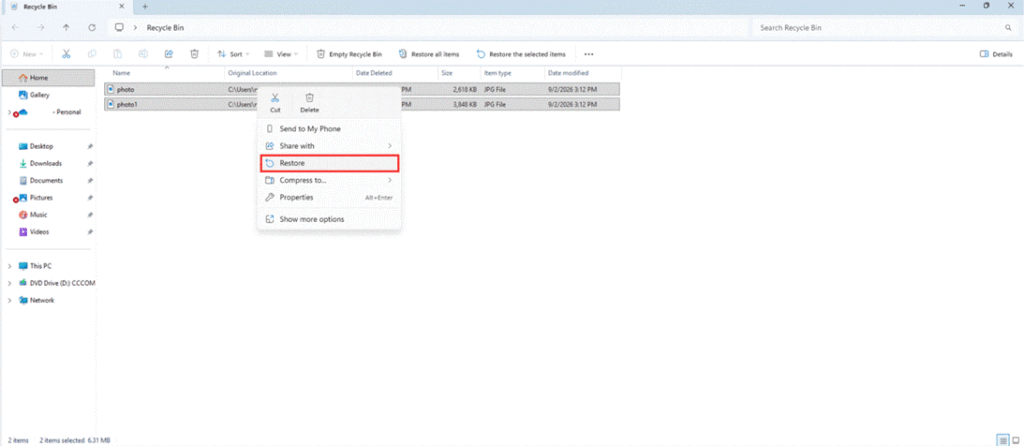
- Open the original folder to verify that the files are back.
If your VM runs Linux, check Trash and select Restore from Trash or a similar option. On macOS, open Trash, right-click the deleted file, and choose Put Back.
Method 2. Recover Files With Data Recovery Software
If your files inside a virtual machine were permanently deleted, became inaccessible, or were affected by file system or partition damage, data recovery software may help restore them.
To avoid further data loss, don’t install recovery software inside the affected VM, as additional write operations could overwrite lost data. Instead, perform recovery from the host computer using software that supports virtual disk images.
Disk Drill is a good data recovery software option for this task. It offers powerful recovery capabilities, a simple and intuitive interface, and a preview feature that lets you check files before restoring them. It also supports a wide range of virtual disk formats, including VMDK, DSK, BIN, DAT, RAW, DD, DMG, IMG, ISO, VHD, and VHDX.
Here’s how to recover data from a VMDK file with Disk Drill:
- Shut down the affected virtual machine and leave it powered off.
- Install and launch Disk Drill on the host computer, not inside the VM.
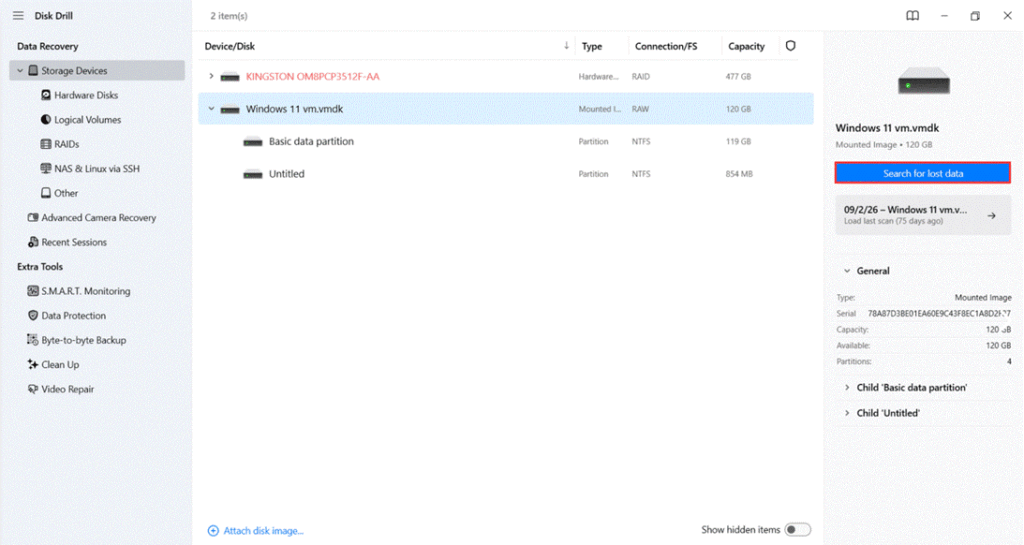
- Open Storage Devices and click Attach disk image.
- Locate and select the virtual disk containing your deleted files. For safety, use a copy of the disk and preserve any dependent snapshot files.
- Wait for the virtual disk to appear in Disk Drill’s device list.
- Select the disk and click Search for lost data. Choose Universal Scan when prompted.
- Wait for the scan to finish, then click Review found items.
- Use the search bar and file-type filters to locate your deleted files.
- Preview important files to check whether their contents are intact.
- Select the files you want to restore and click Recover.
- Choose a safe recovery destination, such as another physical drive, and click Next.
- Wait for the recovery process to finish, then open the recovered files to verify that they work correctly.
Method 3. VMware Data Recovery From a Host Backup
If your virtual machine was included in a backup on the host computer, you can restore an earlier version to recover lost files. For example, Windows File History can preserve previous versions of your VM folder and its contents, provided it was configured to back up that folder. Before restoring, make a copy of your current VM folder. Replacing it with an older backup may overwrite the current VM files and erase changes made after the backup was created.
Here’s how to check for an available backup using Windows:
- Shut down the virtual machine before restoring any files.
- Open File Explorer on the host computer and locate the folder containing your VM.
- Right-click the folder and select Properties.
- Open the Previous Versions tab.
- Select a version created before the files were deleted.
- Click Open to examine the backup, or Restore to recover the selected version.
Method 4. Recover Files From a VMware Snapshot
Another VMware data recovery option is to restore a previous snapshot. Snapshots preserve the VM’s state at a specific point in time, so you can return to a version where your missing files still existed. But, if you revert to an older snapshot, you may lose newer files and system changes. Before you proceed, make a copy of the current VM folder, including its virtual disks and snapshot files.
To restore a VMware snapshot in VMware Workstation Pro:
- Open VMware Workstation Pro and select the affected virtual machine.
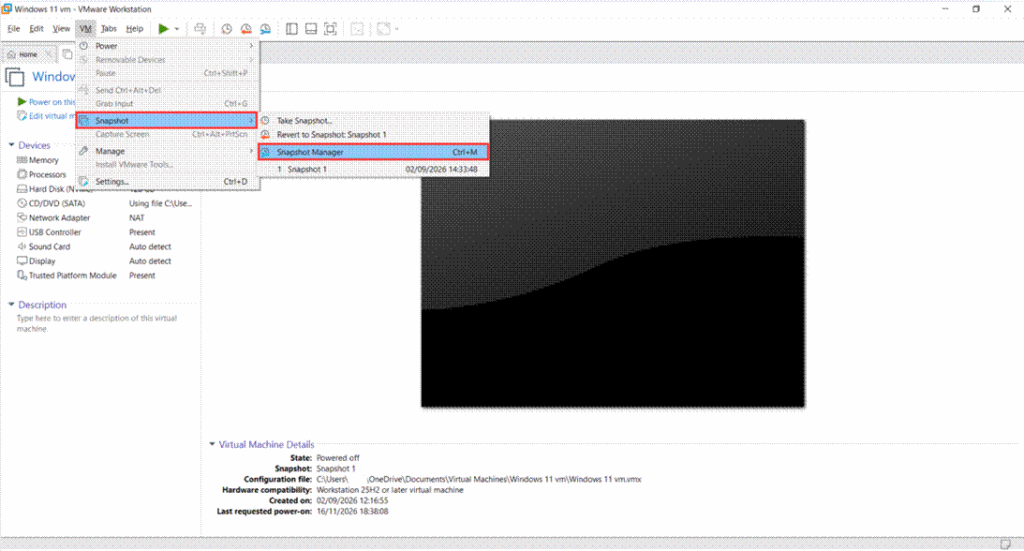
- Navigate to VM > Snapshot > Snapshot Manager.
- Review the available snapshots and their creation dates.
- Select a snapshot created before the files were deleted.
- Click Go To to revert the VM to that snapshot.
- In the pop-up window, click Yes.
- Start the virtual machine and check whether the missing files are accessible.
- Copy the recovered files to a safe location outside the VM.
Method 5. Mount the Virtual Disk and Copy Files
If your virtual machine won’t boot, freezes, or crashes, but its virtual disk is intact, you can mount the disk directly on the host computer. Windows supports VHD and VHDX files, so you can access their contents without third-party software. This method only works if the files still exist and the disk’s file system is healthy. It cannot recover deleted files or data from formatted partitions or corrupted file systems. For these cases, use data recovery software instead.
Follow these steps:
- Create a copy of the virtual disk and work with that copy.
- Press Windows + X and select Disk Management.
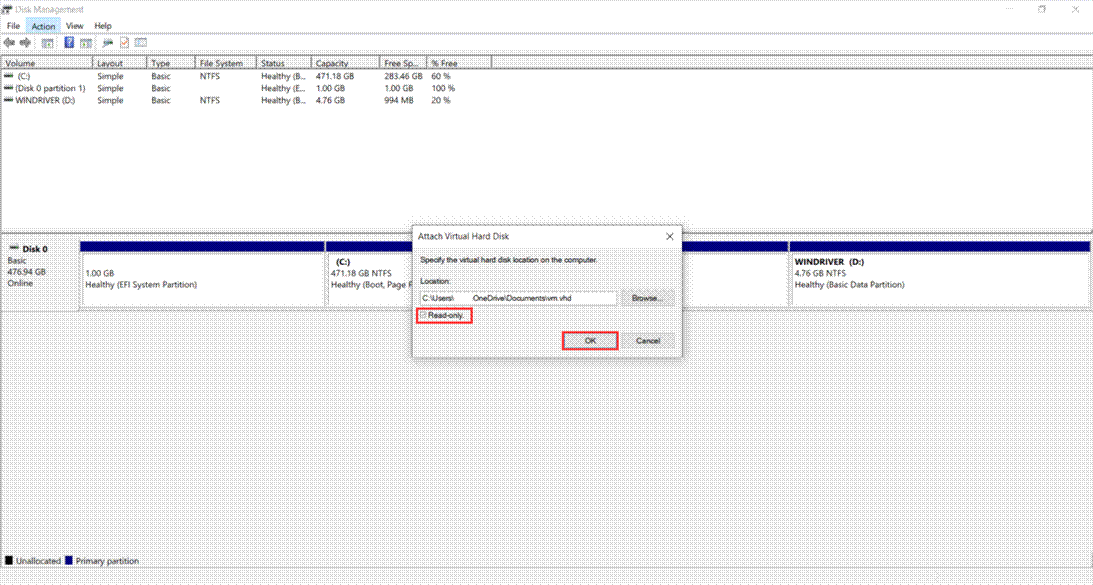
- Open Action > Attach VHD.
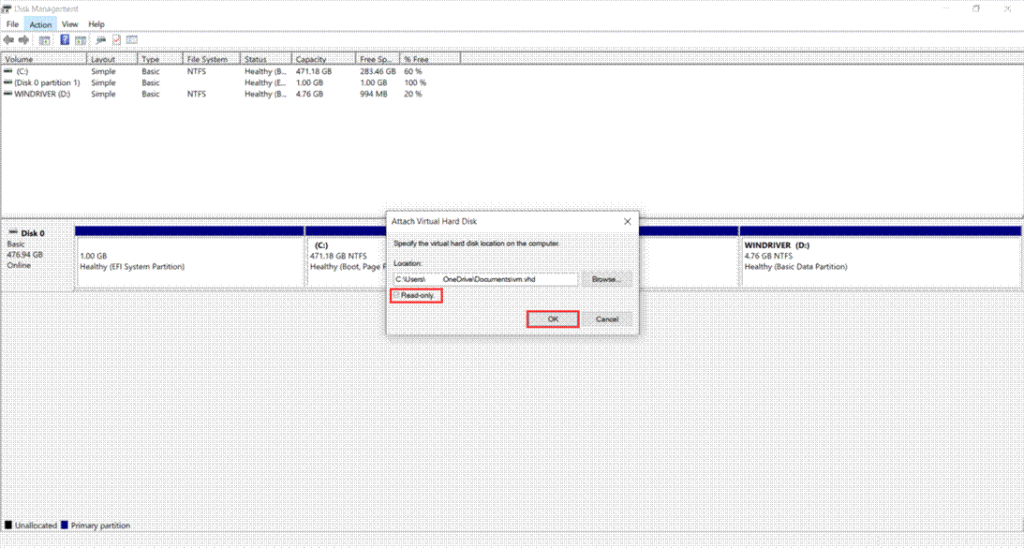
- Click Browse in the Attach Virtual Hard Disk window.
- Locate and select your VHD or VHDX file.
- Enable Read-only to prevent changes to the virtual disk, then click OK.
- Check whether Windows assigned a drive letter. If not, right-click the partition, select Change Drive Letter and Paths, and assign an available letter if permitted.
- Open File Explorer and select the mounted drive.
- Find the files you need and copy them to another storage device.
Conclusion
Successful virtual disk recovery depends on the condition of your virtual disk and whether the lost data is still available. The sooner you take action, the better your chances of recovering important files.
To get your data back, follow these steps:
- Check the Recycle Bin or Trash for accidentally deleted files.
- Look for available backups or snapshots to restore an earlier version of your VM.
- Try data recovery software if your files are permanently deleted and no backup is available.
- Mount the virtual disk on the host computer if your VM won’t boot but its virtual disk is intact.
To avoid similar problems in the future, regularly back up your virtual machines, keep copies on separate storage devices, and verify that your backups work.